✨ How to Create a Static ASTRO Site and Host it on AWS Amplify

Although I use HUGO for creating this blog, I long hesitated between HUGO and ASTRO. Both solutions are SSG (Static Site Generators). HUGO is based on the GO language and ASTRO on JavaScript.
I’m not a developer, so using Go or JavaScript makes no difference to me. However, I found it easier to manipulate HUGO themes and templates. Astro seems more complicated in terms of code structure, but the site rendering is very satisfactory and modern.
I’ve always wanted to learn how to create sites with ASTRO (using and modifying themes/templates) and today is the opportunity. I’ll show you how a novice in ASTRO and JavaScript manages to create a static site ready to be customized.
We’ll prepare an environment that will allow us to modify the site and publish it on the internet immediately after pushing the code to our GitHub using AWS Amplify.
Prerequisites:
A Linux machine (Debian or Ubuntu). My main OS is Win10, but I have several VMs on VMWare used for project development.
You need to install npm, NodeJS and git
VSCode or Cursor
A GitHub account
An Amazon Web Services account
Step 1: Install Node.js, npm and git
We’ll start with a classic sudo apt update
Install nodejs
The base version on apt is often too old or not suitable so we’ll install nodejs directly from NVM (Node Version Manager)
curl -o- https://raw.githubusercontent.com/nvm-sh/nvm/v0.39.7/install.sh | bash
We verify that NVM is properly installed
nvm --version
We install a specific version of nodejs. The latest stable (LTS) recommended version of Node.js
nvm install --lts
We select and use a specific version of Node.js installed via NVM. In our case it’s the LTS version
nvm use --lts
We verify that everything is OK:
node --version
To update NVM and Node.js,
Check the version with nvm --version and compare it to the latest release https://github.com/nvm-sh/nvm/releases
Update NVM by changing the version (example: v0.39.7)
curl -o- https://raw.githubusercontent.com/nvm-sh/nvm/v0.39.7/install.sh | bash
Restart the terminal for updates to take effect.
Then update Node.js via NVM
List available Node.js versions
nvm ls-remote
And install the latest LTS version
nvm install --lts
Install npm
npm (Node Package Manager) is a package manager for Node.js that allows developers to discover, install, update, and manage software dependencies when developing JavaScript applications.
sudo apt install npm
Update npm to the latest version
npm install -g npm
verify proper installation
npm - -version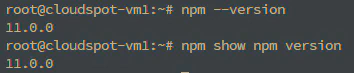
Check what is the latest LTS version of npm available
npm show npm version
which can be compared to the official site
https://www.npmjs.com/package/npm
Install git
Git is a distributed version control system that allows us to track changes made to a project’s source code, collaborate with other developers, and manage different versions of the project efficiently and flexibly. In our case, we’ll also use it to push code directly to GitHub.
sudo apt install git
git --version
Step 2: Set up VSCode (or Cursor)
In this step, we’ll connect VSCode to our Linux. To do this:
Click at the bottom left of VSCode then select in the menu that appears at the top in the search bar: Connect to host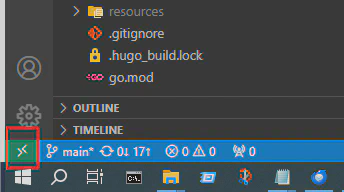
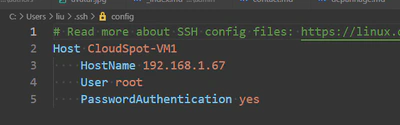
Use the terminal to interact with your server. You are connected via ssh through VSCode
mkdir astrotemplate1
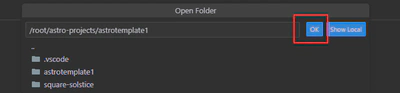
Then open this folder through VSCode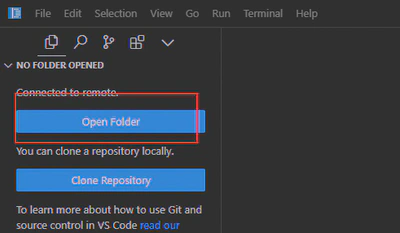
Step 3: Clone an ASTRO theme and serve it locally
In this step, we’ll clone a template, for example Astrowind. In my example, you can see that I’ve already created a site with the ScrewFast theme.
So go to https://astro.build/themes/ and choose the Astrowind theme. Click on get started and copy the following link: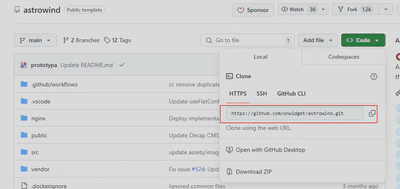
git clone https://github.com/onwidget/astrowind.git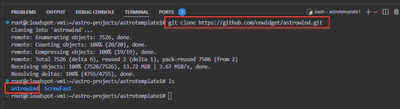
Reading the Astrowind theme documentation, we can see how to start.
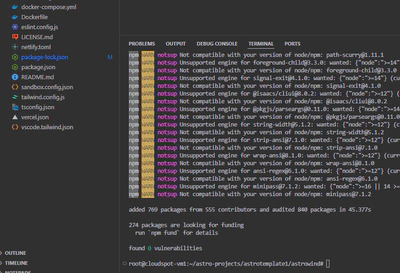
Notably, we need to start by installing this template’s dependencies with npm install. This command will install the dependencies listed in the package.json file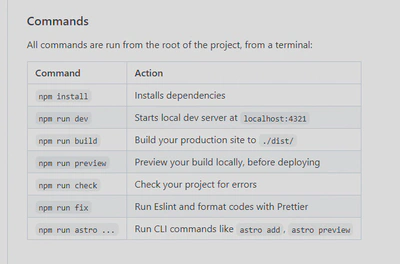
npm run dev which creates a local server to view the project in a browser.
(if you get an error, try updating NodeJS.)
nvm install 18nvm use 18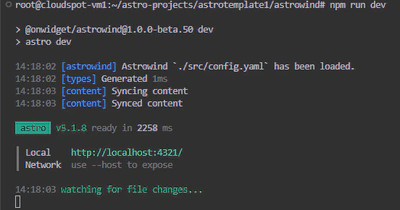
Step 4: Synchronize our local folder with GitHub
Up to this step, we’ve made the Astrowind theme usable locally. I invite you to consult the ASTRO and ASTROWIND documentation directly to learn how to modify and adapt the site to your needs.
Now, once the content modifications are made, we want to make it public on the internet. For this, we’ll use GitHub and amplify.
Create a new GitHub repository: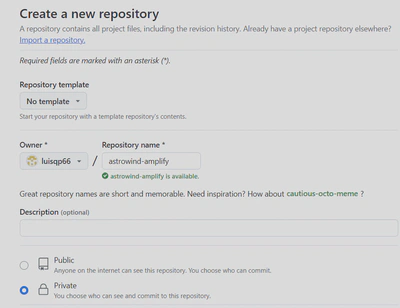
On VSCode Click source control then the 3 small dots visible when hovering over it and choose … Remote —> Add Remote —> Add Remote from Github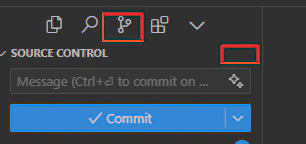
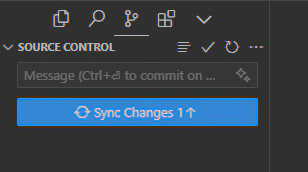
We’ll synchronize our entire ASTROWIND project to our new GitHub repository.
In the terminal:
initialize git with the command git init
Validate all changes with the command git add .
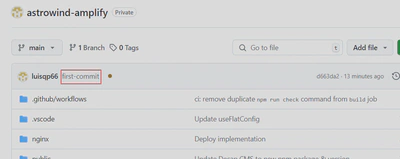
Then Commit the validated changes with a memo: git commit -m first-commit
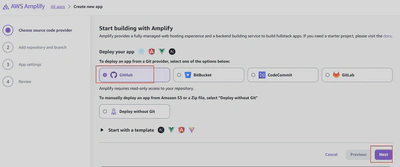
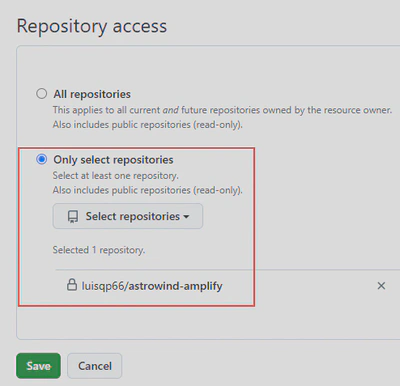
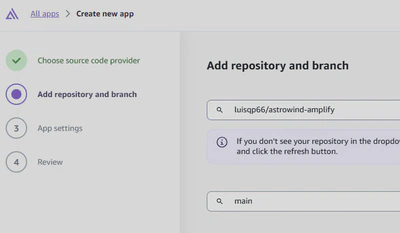
Step 5: Publish our site on the Internet with AWS Amplify
Log in to your AWS account and go to the amplify service
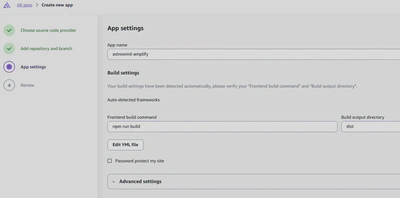
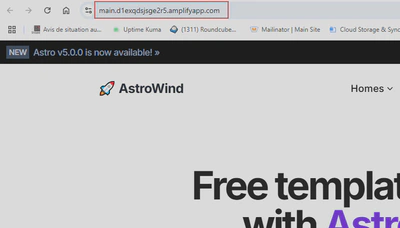
Wait for Amplify to build your site then go to the indicated URL.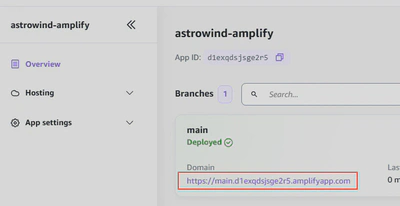
That’s it, normally your site is online 🥳: